How to Create a Rule in the JD Edwards EnterpriseOne Orchestrator Studio
-
Posted by Harry E Fowler
- Last updated 5/24/23
- Share

A recent JD Edwards tutorial video shows users how to create a rule within the JD Edwards EnterpriseOne Orchestrator Studio. A rule contains conditions that an Orchestration uses to determine the next action to perform.
The tutorial demonstrated an example of creating a rule that contains a condition for determining if a customer is over their credit limit. Let’s walk through the steps taken throughout the video.
Steps to Creating a Rule in Orchestrator Studio
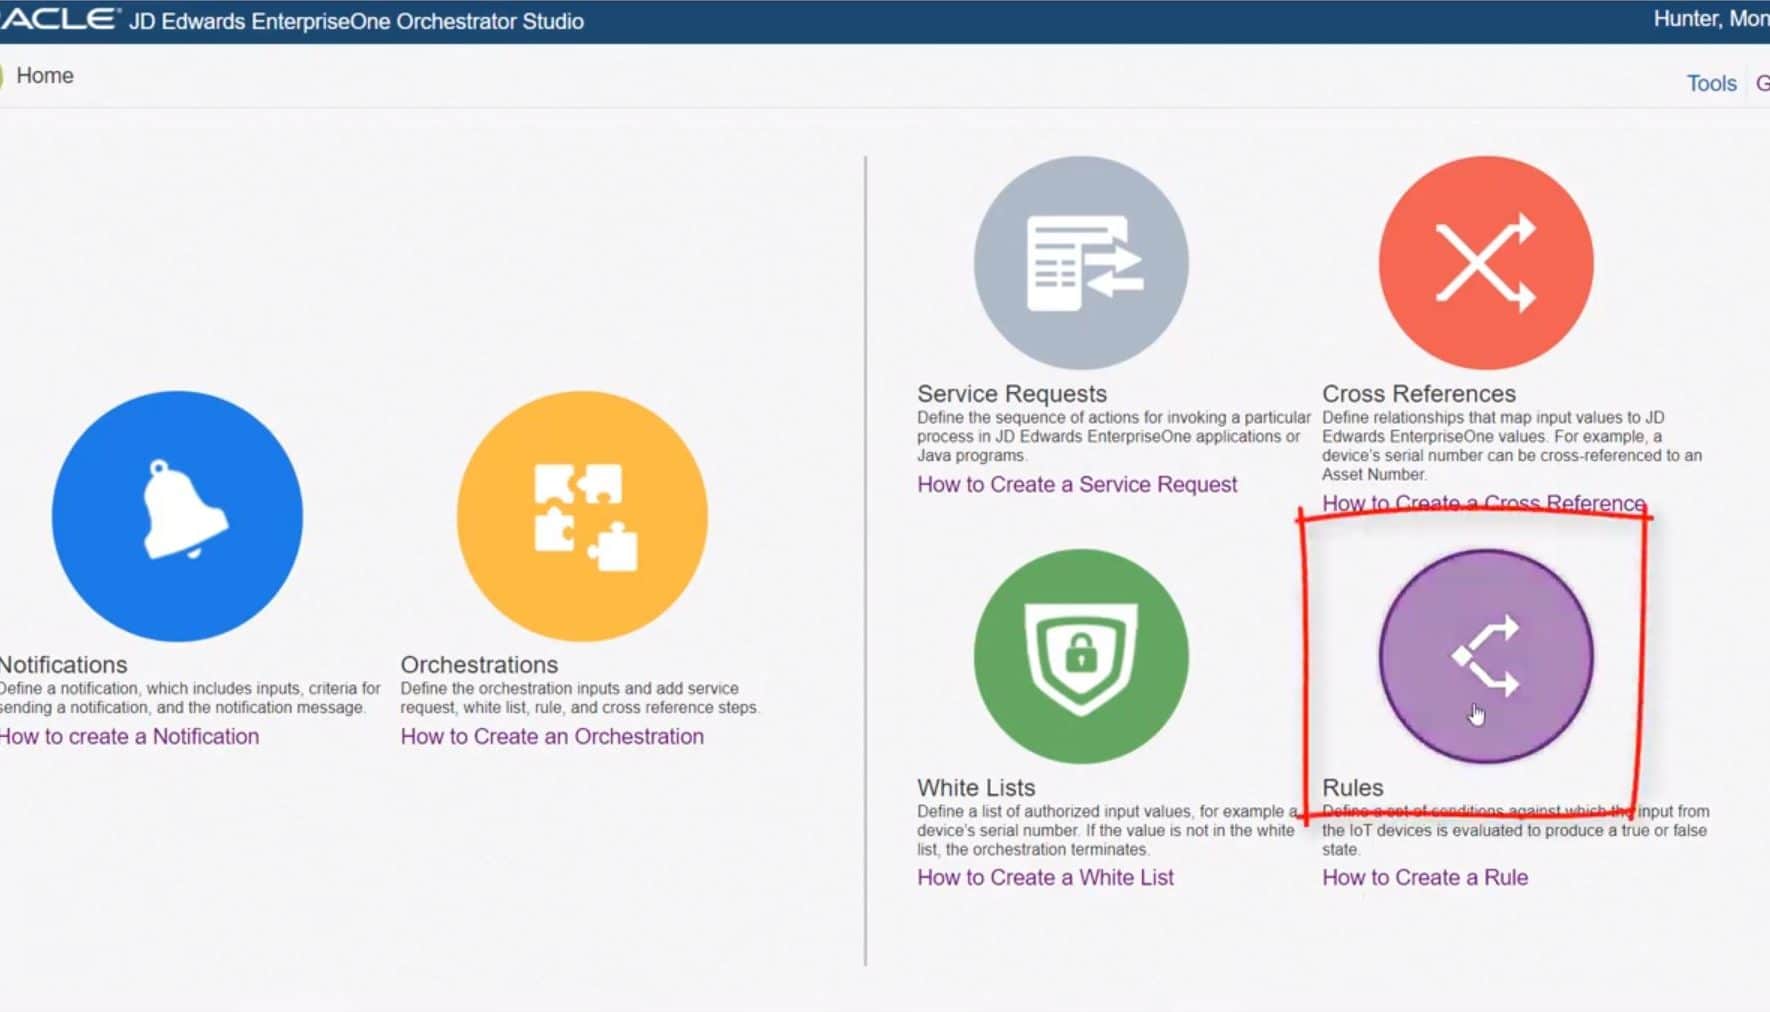
From the Orchestrator Studio homepage, select the Rule Design page through the purple Rules icon. Once you’re on this page, you’ll click the “New Rule” button.
The first step to creating a new rule is to name the rule something that will help you identify what it is for. In this case, the name of the rule is “Over Credit Limit.” Then, you will select a product code to associate with the rule and give it a short description to help further identify what the rule is for.
Next, you will add a condition to evaluate if a customer’s open order amounts exceed their credit limit. For the condition in this example, the rule type is “Numeric” since the condition evaluates numerical data. You will use variables for the condition to evaluate if a customer’s open order amount is greater than their credit limit. In this example, Value 1 is labeled “OpenOrderAmt,” the selected Operator is the “greater than” symbol “>,” and Value 2 is labeled “CreditLimit.” This is the only condition needed for this rule, so once you have filled out the values, you can save the rule. When included in an Orchestration, this rule would receive the open order amount and credit limit from the data request configured to retrieve these data values from EnterpriseOne.
To see this rule in the context of an Orchestration, go back to the Orchestrator Studio homepage and select the yellow Orchestrations icon. Once you’re on the Orchestrations page, you can open the Customer Credit Check orchestration. Click the “Edit the Orchestration” button in the top left corner. When you select the rule step of the orchestration, notice the open order amount and credit limit inputs on the right side of the screen. These inputs come from the variables that you defined in the rule. They are mapped to receive these values from the preceding data request.
After watching this tutorial, you can create your own rules in Orchestrator Studio and begin building Orchestrations to use in your organization. For a step-by-step walk through of this example, check out the video below.

